In nature, lily pads are a floating leaf that comes from a water lily. Frogs typically hide on them to protect themselves from their predators – water snakes and certain fish. Not only does the lily pad provide safety, but it also produces shade which helps cool a pond. This Lily Pad Frog Slime recipe is a great way to make slime and have hands-on fun while learning about ponds or frog life cycles!
*Pair with our Wetland Animal Habitat Centers and Activities for Pre-K & Kindergarten!
I thought lily pad slime would be a perfect slime project because the slime easily forms into a circle. And we love adding plastic toys to our slime projects. You could transform this into an entire pond life sensory play activity.
This recipe makes enough slime for about 2-4 children at a time. It takes about 15 minutes to make one batch.
To get started, grab the following supplies:
I recommend using two bottles of glue so you can get a perfect consistency of slime. The second bottle is a backup. Use each bottle one at a time so that you can adapt and use the second one if necessary. Getting the perfect consistency the first time doesn’t always go so smoothly, so I like having the second bottle to make my slime completely perfect!
Clear or white glue works best for this slime. I only use Elmer’s and stick to their popular and common glues. Some of the specialized ones don’t work as well.

Find a nice sized bowl. You will need to squish the slime in it, so make sure it is big and wide enough.
Mix one cup of hot water in the bowl with ½ tsp of borax. Dissolve completely.
You will want to hold onto this mixture, even after your slime is made. If you find that your slime is too stretchy or turns sticky after a few minutes of playing, you’ll be glad you didn’t dump this out!
Allow the borax and water to cool as you prep the next step.
Mix one container of Elmer’s glue (5-6 oz) with ½ cup of water. You don’t want to skip this step. The glue needs to be watered down and separated to prevent a slime fail. I find that a container with a pour spout is perfect for this.
Use a whisk to stir them together. You want it to be completely mixed so this may take a few minutes.
Add several drops of green liquid watercolor or food coloring.
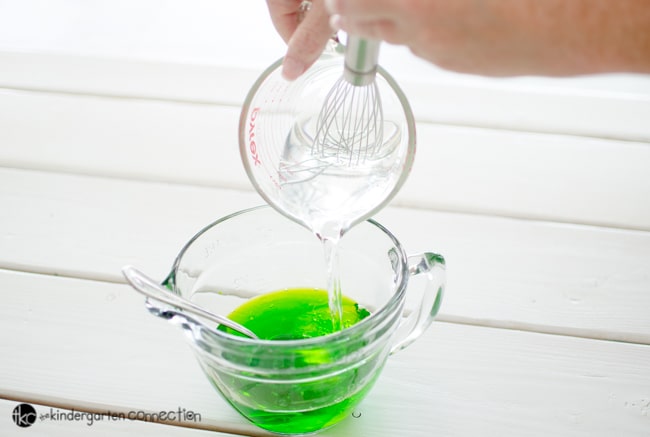
Now, it’s time to pour your glue mixture into the big bowl with the borax and water mixture.
Watch for a minute as the glue mixture starts to polymerize. It’s such a cool sight to see!
Next, start squishing the slime to help it absorb as much of the borax and water mixture as possible. Feel free to wear gloves or to stir with a spoon if you would prefer. I recommend that the adult does this part.

The slime will feel quite sticky or chunky for a minute or two but keep squishing, kneading, stirring, or mixing. Do this for two to three minutes.
Once it isn’t feeling sticky or chunky, pull it out and knead it some more.
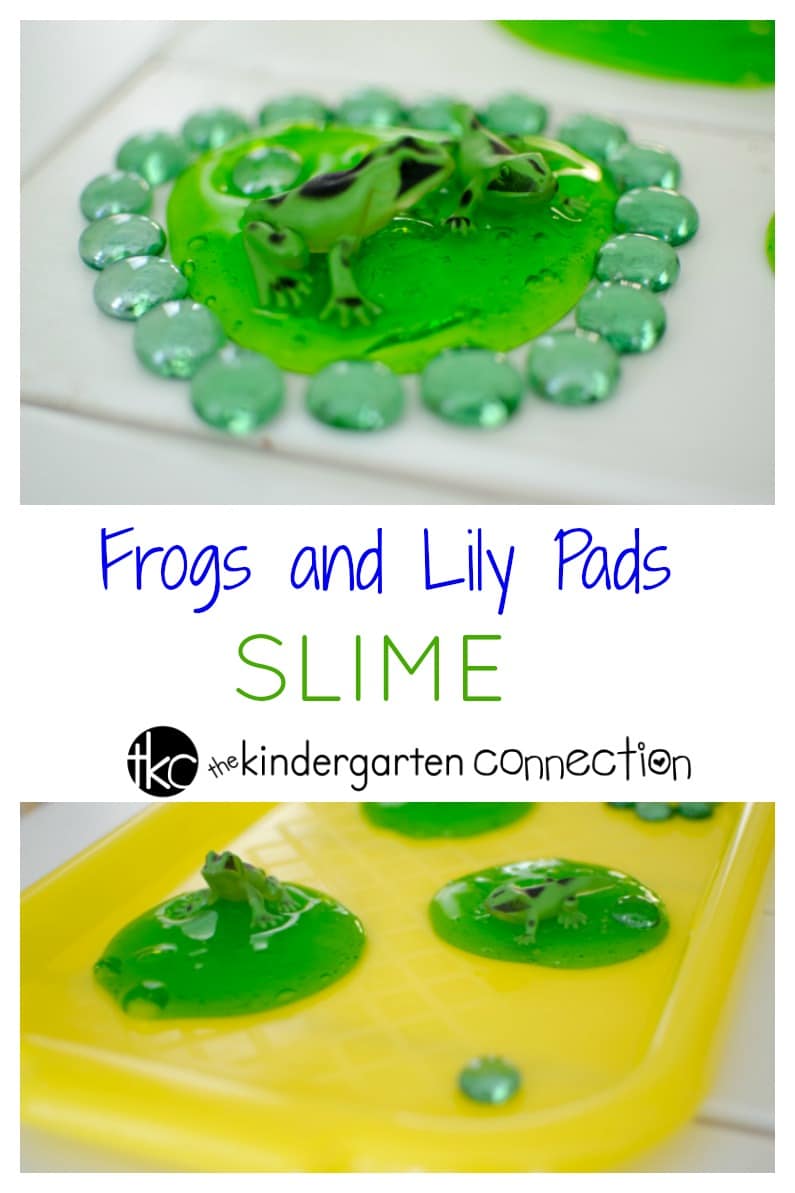
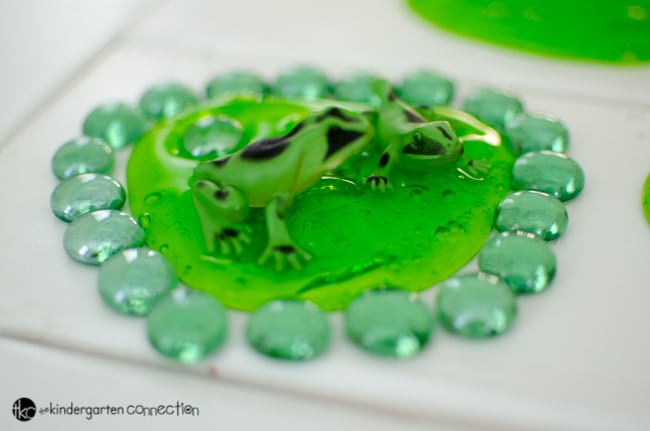
Take a small piece of slime and set in on a surface. You’ll see it spread into a circle after a minute or two, and it has magically transformed from just green slime to a lily pad. It’s all ready for the frogs to come start playing on it.
Feel free to add bugs, glass beads, and more to make this frog lily pad slime even more inviting!
Your planning will be so much easier with instant access to:
Be sure to request an invitation so that you don’t miss your chance to be part of the best early childhood club around!