This pumpkin art project is perfect for young students to try during the fall months! It’s a fun way to introduce kids to chalk pastels, blending colors, and shading. They will even get to practice fine motor skills and glue bottle skills while making these unique works of art!
*Pair this with our Pumpkin Centers and Activities for Pre-K & Kindergarten!
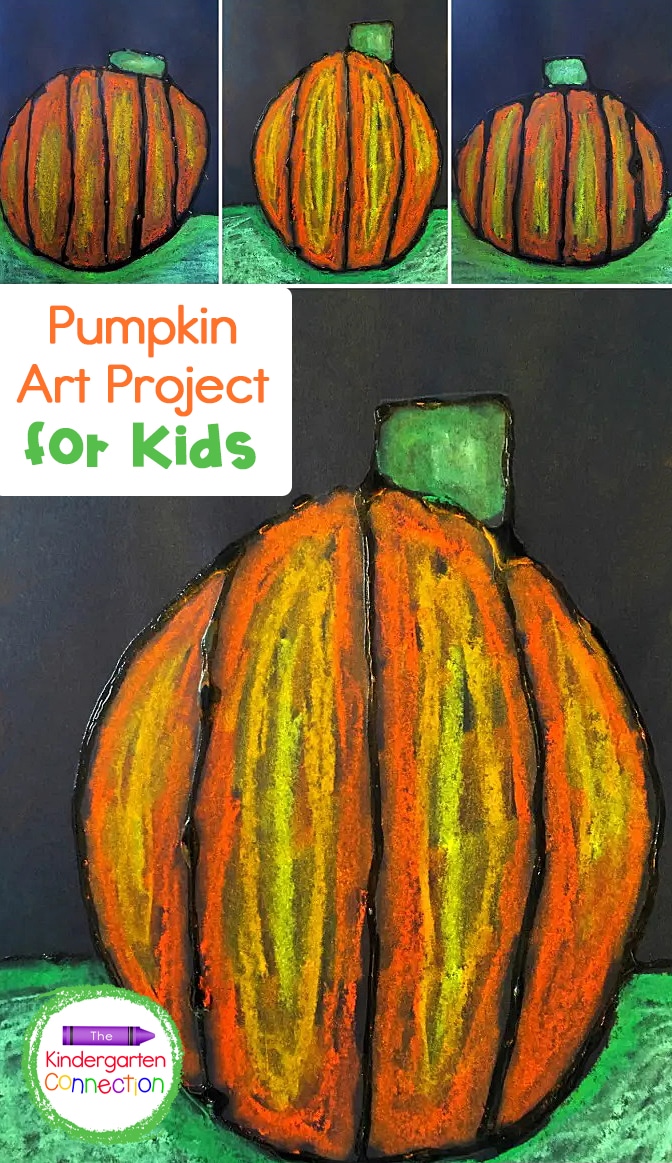
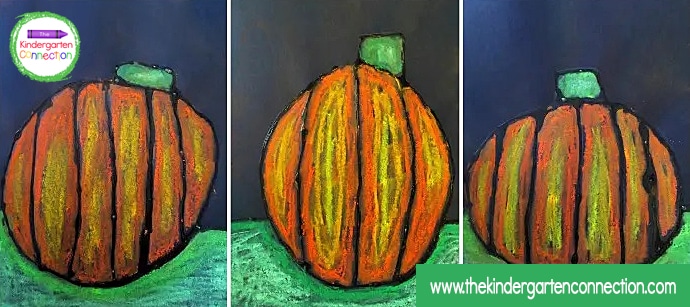
This simple fall craft is so fun and the results are beautiful! Each pumpkin art project is unique. You may even want to include a “still life” pumpkin display in your classroom for students to observe!
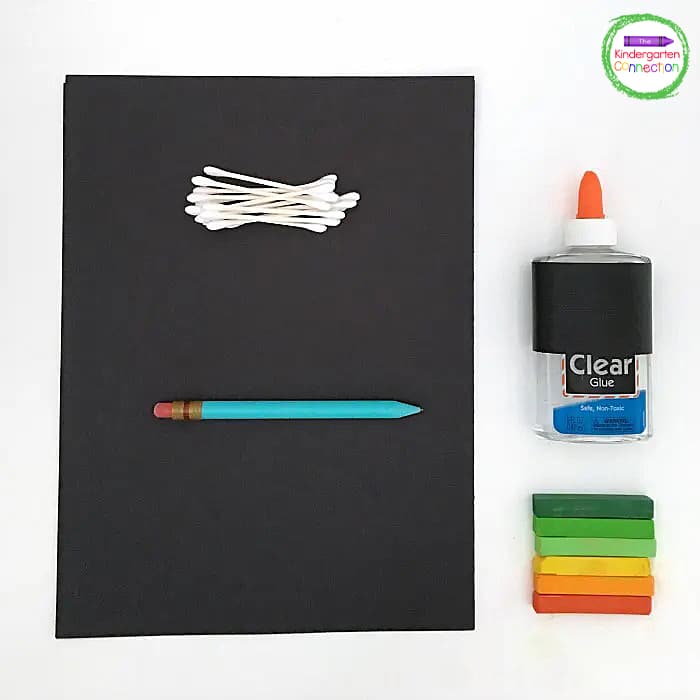
For this pumpkin art project, you will need:
Let’s get started!
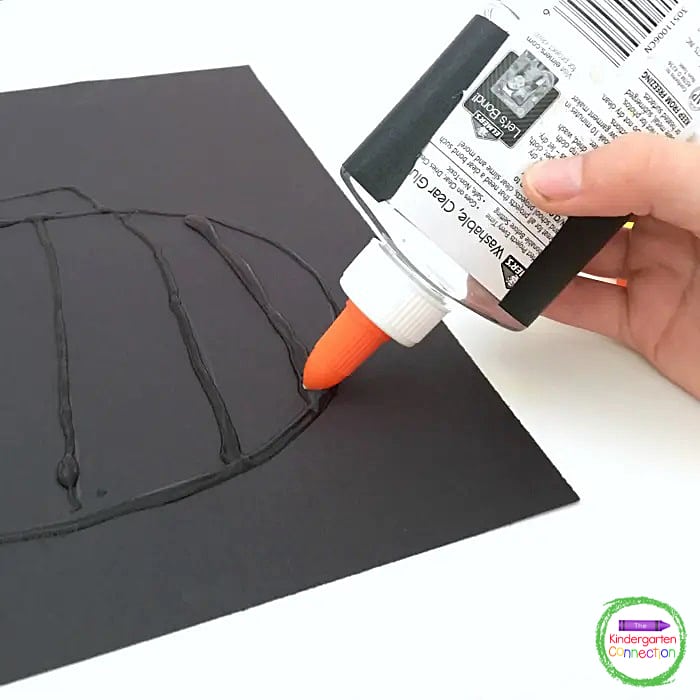
Invite students to use the pencil to draw an outline of a pumpkin onto the black construction paper. They may also want to add a horizon line.
Next, use clear glue to trace the pencil lines. Instruct the students to only open the glue a small amount so they have a bit more control with the glue.
Younger students may need a bit of help with this step. Allow the glue to dry completely before continuing on to the next step.
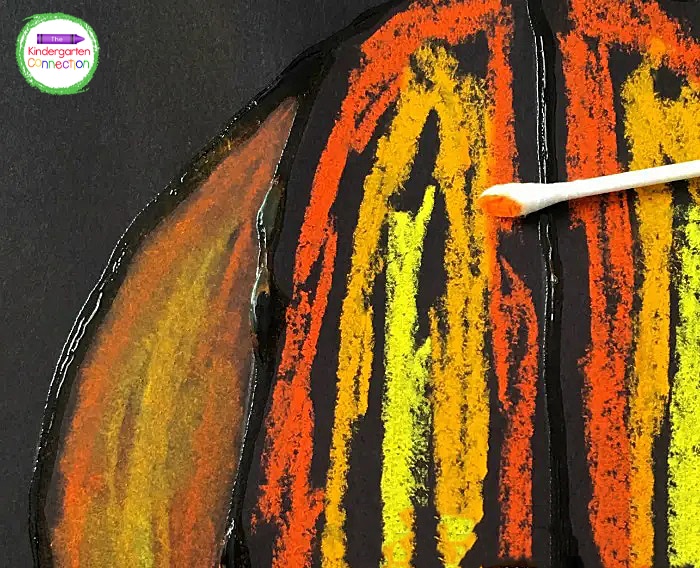
Once the glue has dried completely, invite students to use chalk pastels to add color to their pumpkin portraits.
The glue outline will make it easier for students to color within the lines.
This is also a great time to introduce the concept of shading. For example, students may want to use dark colors close to the outlines and lighter colors toward the center.
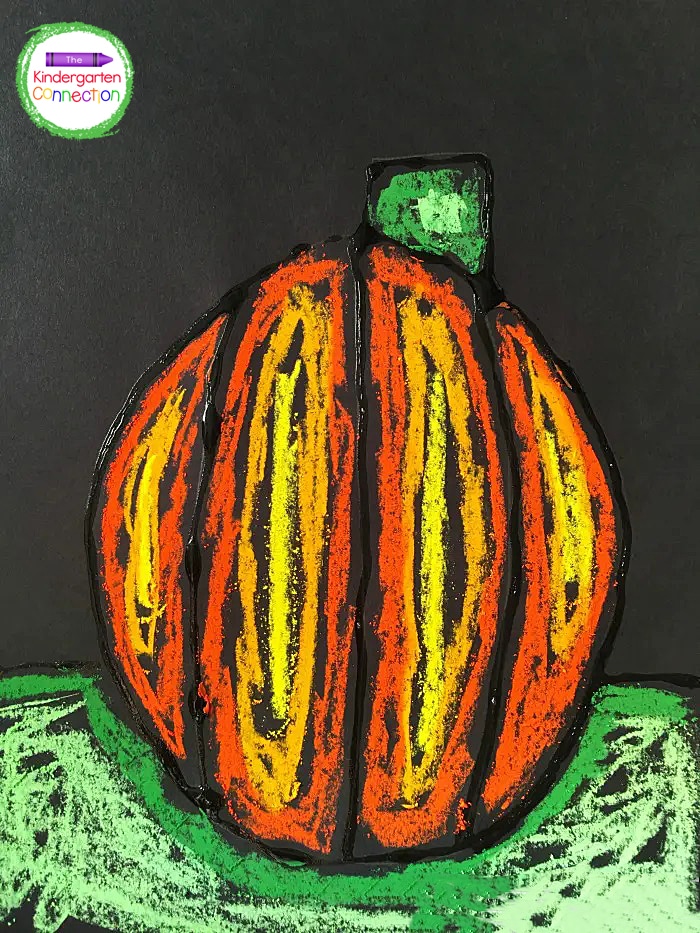
Invite students to use a cotton swab to gently blend the colors.
Teacher Tip: To prevent smudging, once the students are done blending, (adult) spray with a light coat of hair spray or clear fixative. Allow to dry completely.
Display your pumpkin art projects proudly in your home or classroom. These pumpkins also make a beautiful fall or Halloween bulletin board!
Your planning will be so much easier with instant access to:
Be sure to request an invitation so that you don’t miss your chance to be part of the best early childhood club around!