Inspiring creativity in our students is an important part of playful learning. One of my favorite ways to do this is by providing plenty of opportunities for my students to be little artists. But it can feel overwhelming to create a successful art area in the classroom. What goes in it? How do I keep it organized? Where do I even start? Here’s a step-by-step method for setting up and maintaining an independent classroom art center!
*For even more teacher tips and how to create a playful learning environment in your classroom, be sure to join us in P.L.A.Y. (Playful Learning All Year)!
As a teacher, I am always learning and growing with my students. Each year I have new ideas for improvements and changes to our classroom set up, schedule, and activities. These tips for setting up an independent classroom art center may be a great resource for upgrading your current art center. Or, these tips may be exactly what you need to get started. Either way, I think you will find them super helpful!
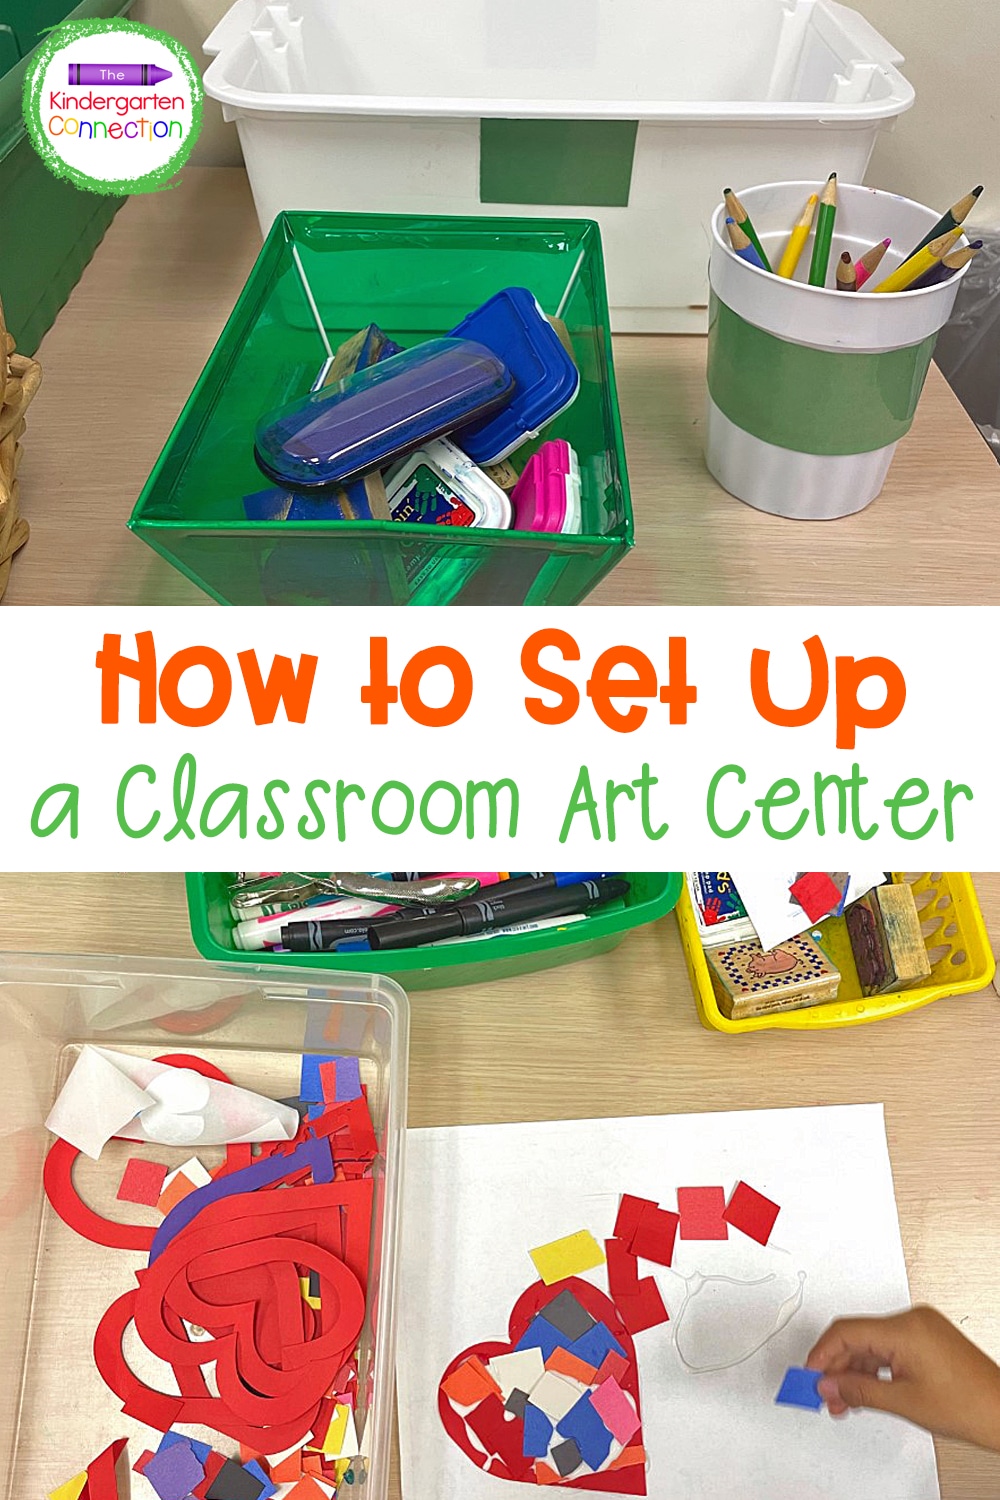
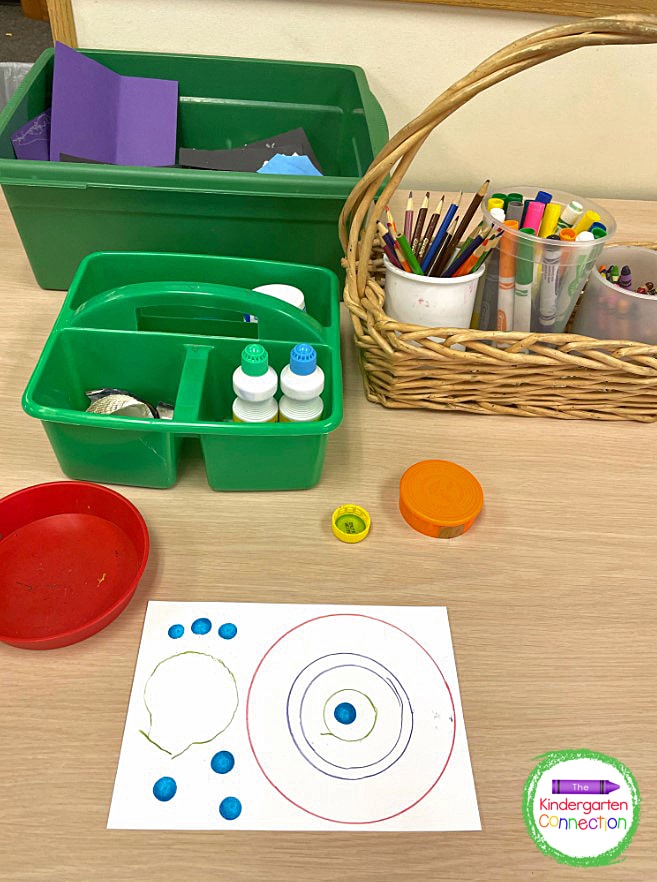
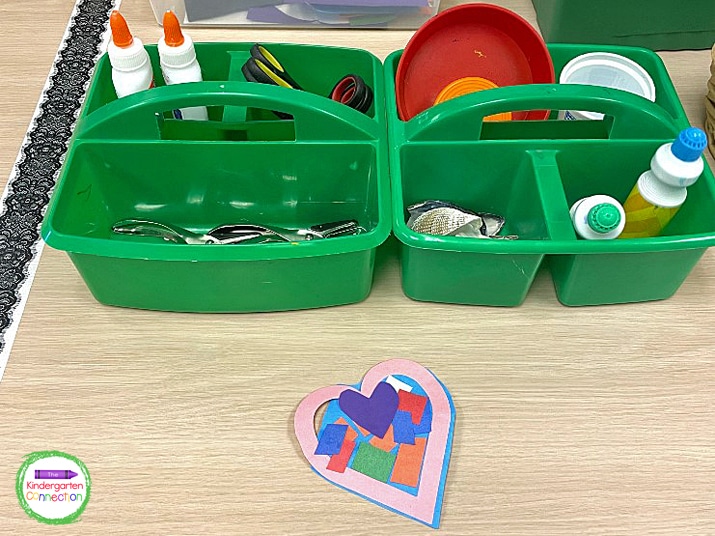
Organization is key for maintaining a stocked and ready-to-use art center! If a child walks away from the art area with our box of stamps and stamp pads then when it’s time to clean up it’s easy for them to just throw the stamp box on the closest shelf. Now organization and cleaning up is not always a strength of young kiddos, so I make it fun and easy by color coding our storage containers!

Our art area has many storage containers, cups, and bins and they are all marked with the same color – green. Feel free to pick your favorite color! I have some green containers but matching containers for all of our supplies is not always realistic or cost-effective. My solution? Construction paper! Simply use packing tape to attach a piece of construction paper to each container in your designated color.
If students borrow the green cup of colored pencils, they know easily that the cup goes right back into the art center when they are done!
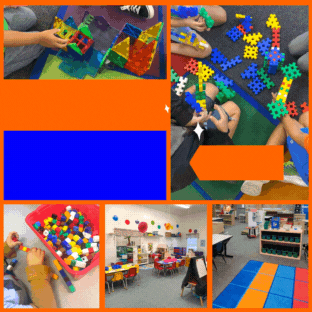
When I first decided to have a designated art center in my class it was hard not to buy every art supply under the sun for my kids to use. Big mistake! I quickly realized that kids can get overwhelmed when given too many choices so I cut my supplies way down.
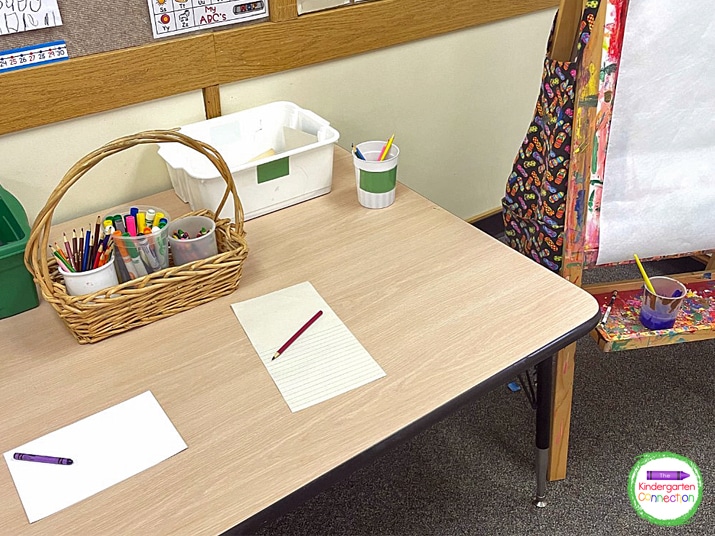
I like to start the year with just some simple coloring supplies – crayons, markers, and paper. Just the basics!
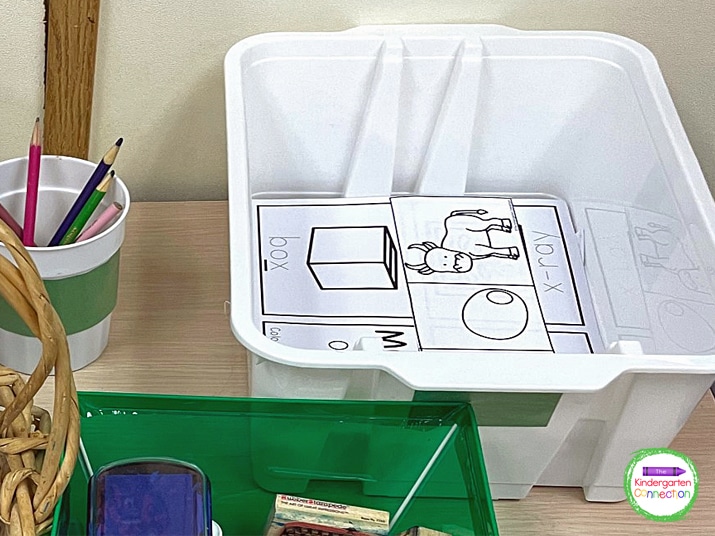
Over the next several WEEKS (not too soon!), I add in more supplies like drawing materials and items for tracing. Bingo dotters or bottle caps and shells for tracing are always a hit!
As students begin to get better at cleaning up, I bring out even more supplies like hole punches, glue, scissors, and paper scraps for cutting. Slowly adding in supplies keeps our art center fresh and also allows students to practice different skills each time they are there!
I like to include a “recycling bin” in our art area. I set out a simple bin for recycling extra papers and encourage the kids to use those same papers to make new and beautiful creations or practice their cutting skills!
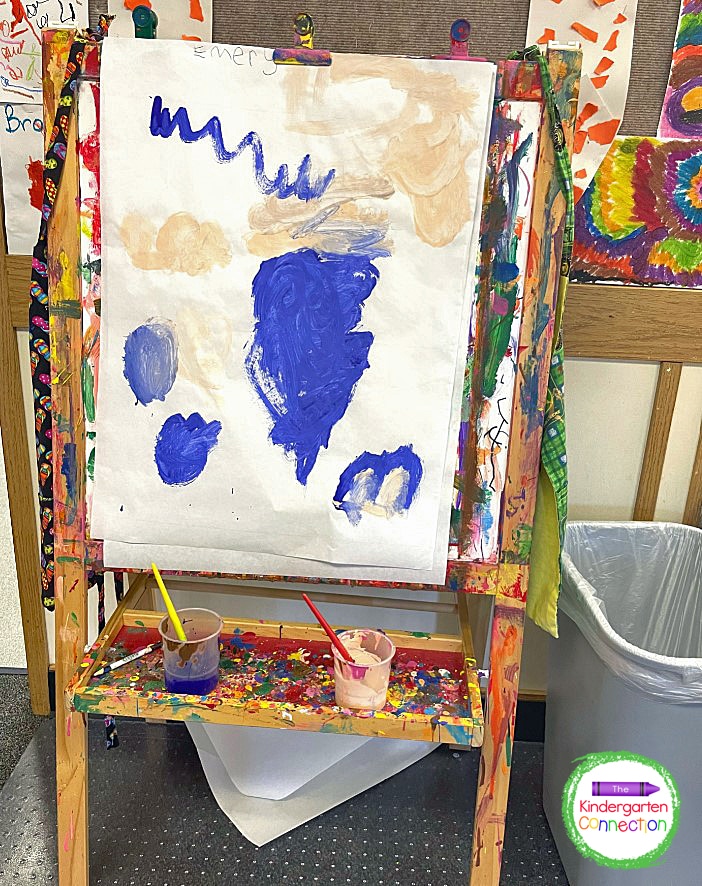
Lastly, don’t forget the easel to add an extra level of excitement to your Creation Station!
Creating an awesome art center for kids doesn’t have to be stressful if you start with these simple tips. Will you use any of these tips or do you have any to add? Let me know!
(even if you “aren’t allowed to play”)
If you’re wanting to incorporate playful learning, free-flowing centers, effective routines, and more in your Pre-K or Kindergarten classroom, then you’ll definitely want to join us in P.L.A.Y. (Playful Learning All Year)!
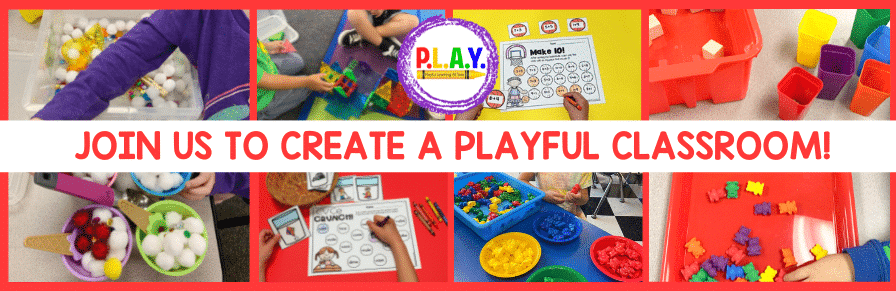
This course is a deep dive into practical ways that you can create a playful learning environment in your classroom. Be sure to request an invitation so you’re the first to hear when the virtual doors open!